|
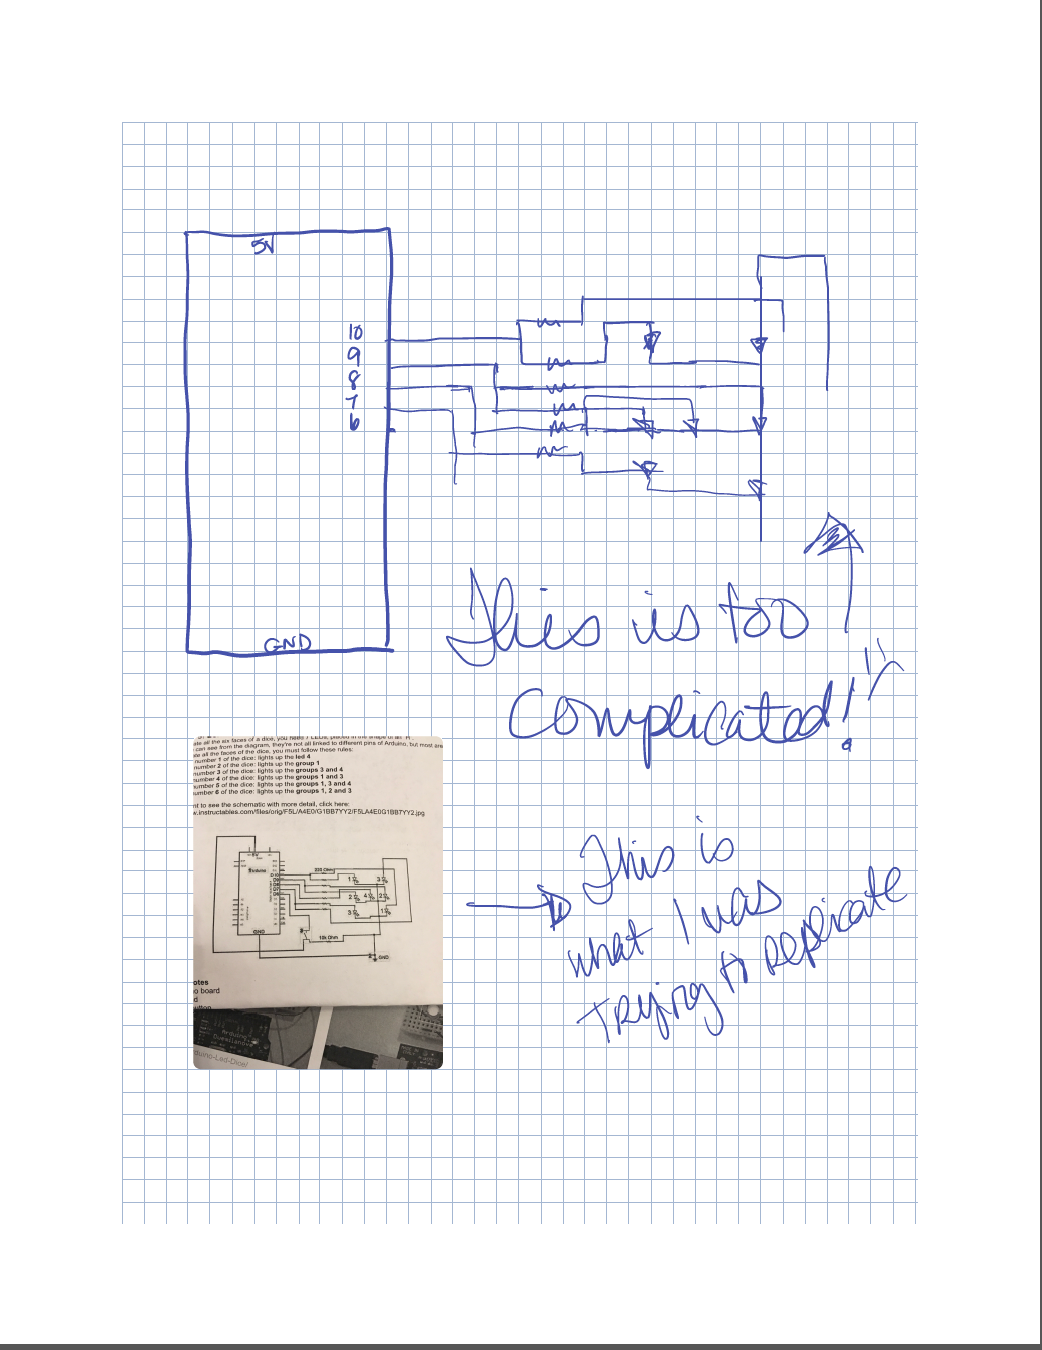
This week we were supposed to make a die. There really wasn't much in the way of instructions though. I'm not going to drag this entry out; I'll just say that I kinda made a die, but the internet helped me immensely. I'm still not sure what it's doing though.
Bonus: Timelapse of me drawing my makerspace
0 Comments
This week actually wasn't so bad, though you're going to disbelieve this statement when you watch my video. However, I chose, in the interest of authenticity to leave it all there.
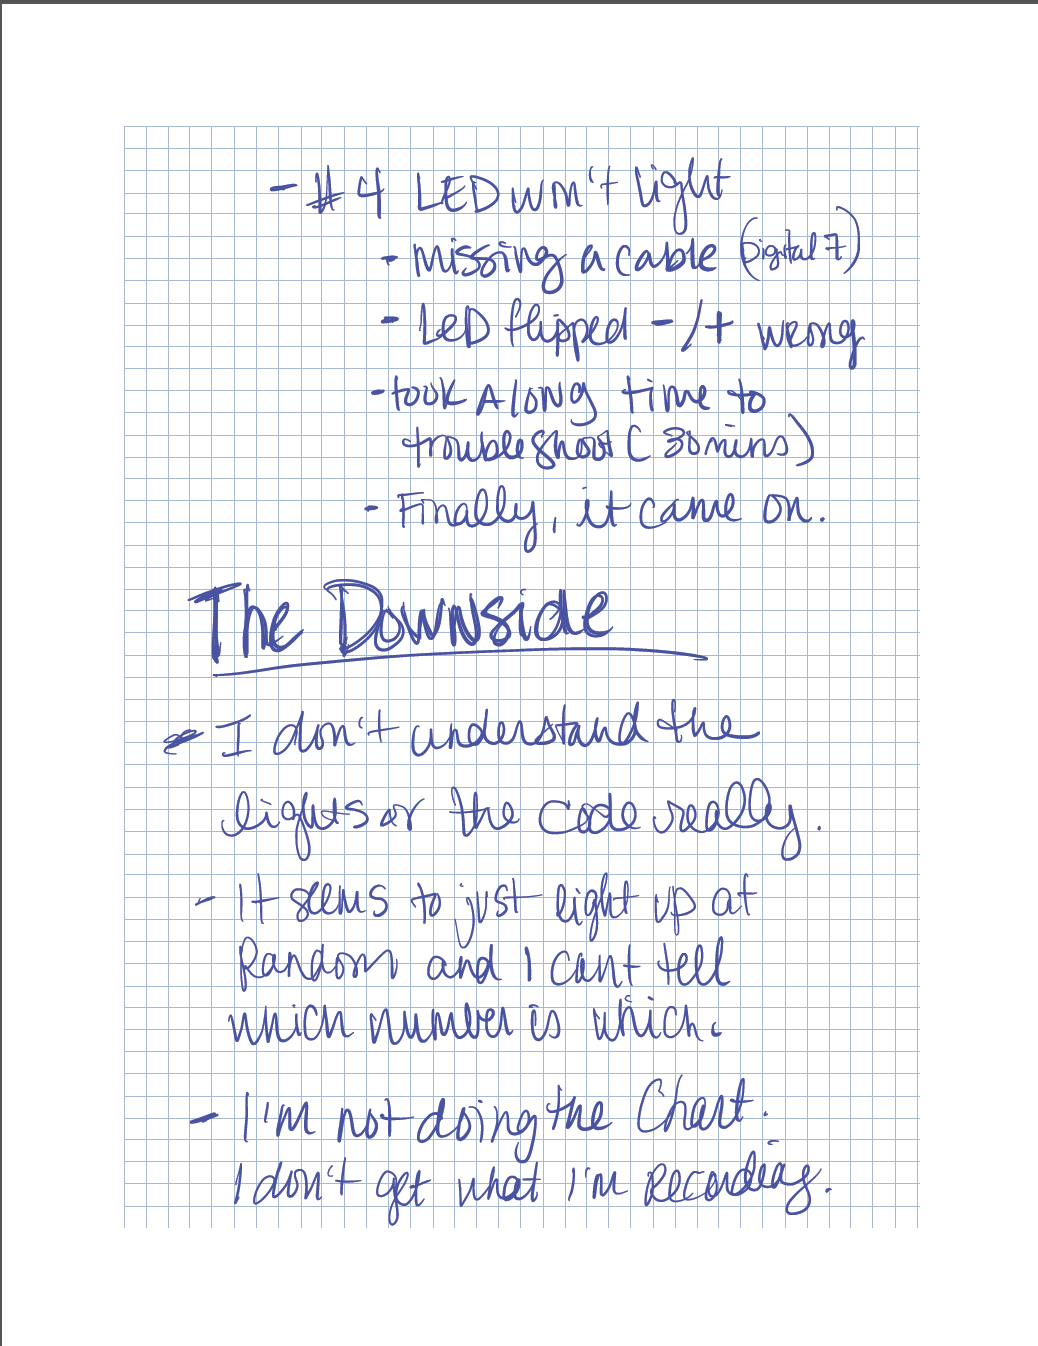
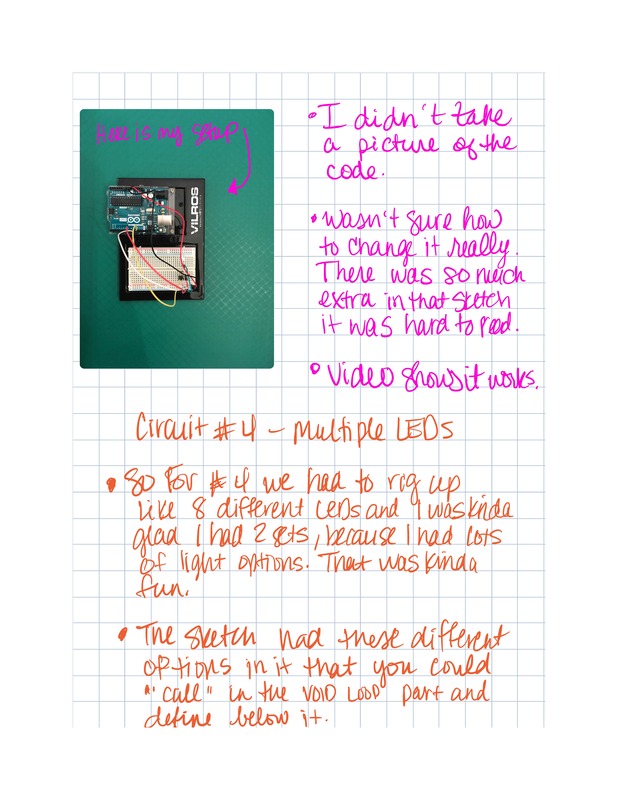
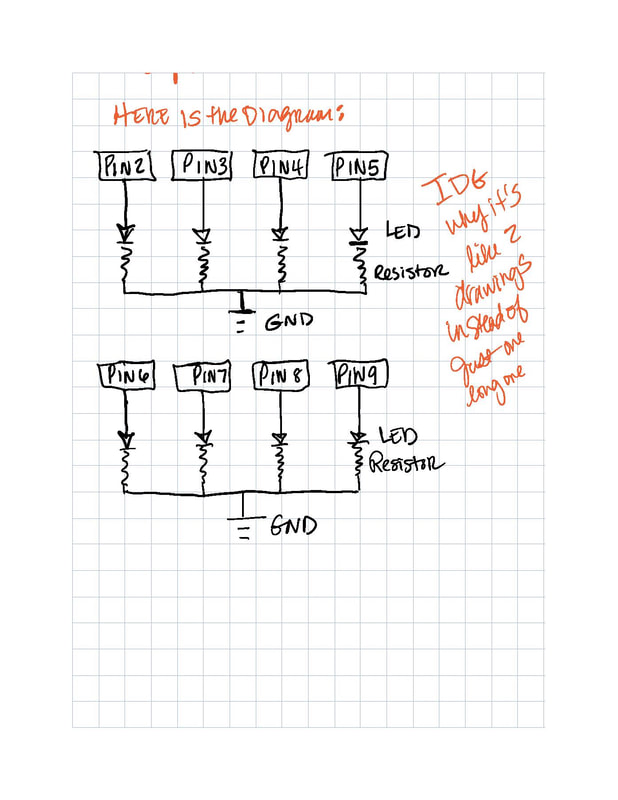
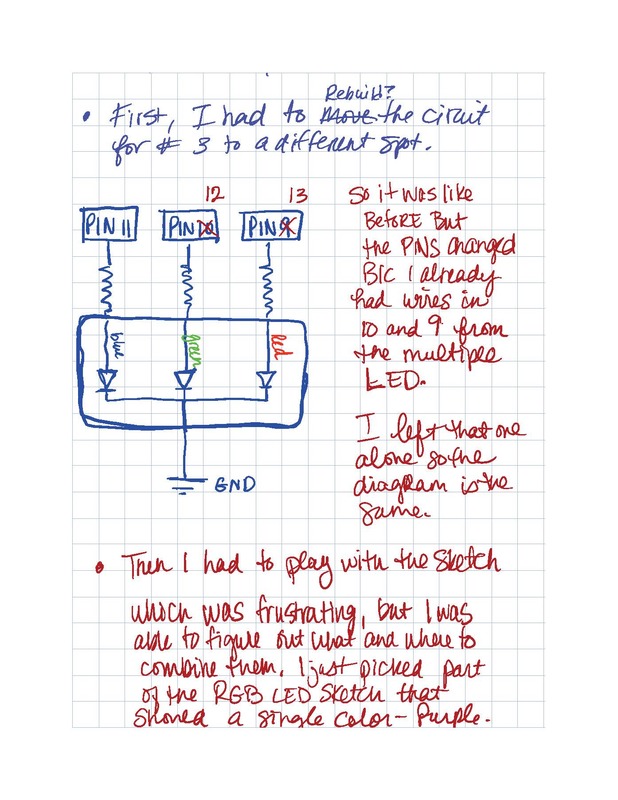
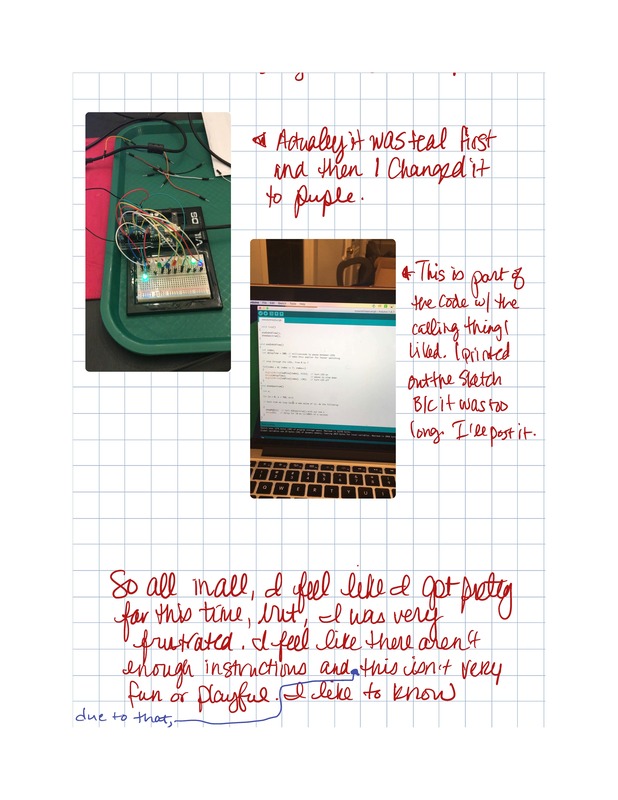
This week, we built Circuits #3 and #4, which in my case had to do with an RGB LED bulb for #3 and multiple LED bulbs for #4. I don't have much problem following the diagrams to set up the circuit. That's actually kind of fun, like a map. Looking at the sketch is more challenging and where I ran into difficulty this week. I had a hard time figuring out how to use the part where you call the function, but eventually, I figured that out. My pictures are in my notes this week, because I took more notes and it would kind of go better in context.
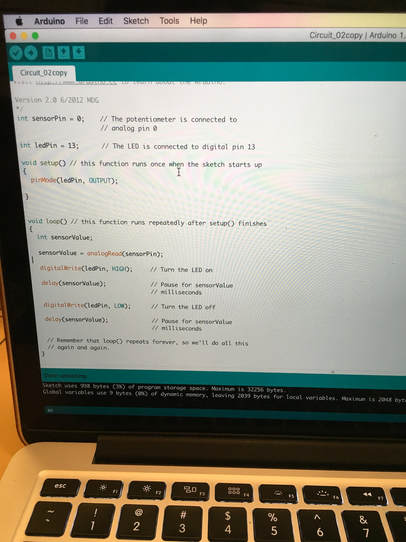
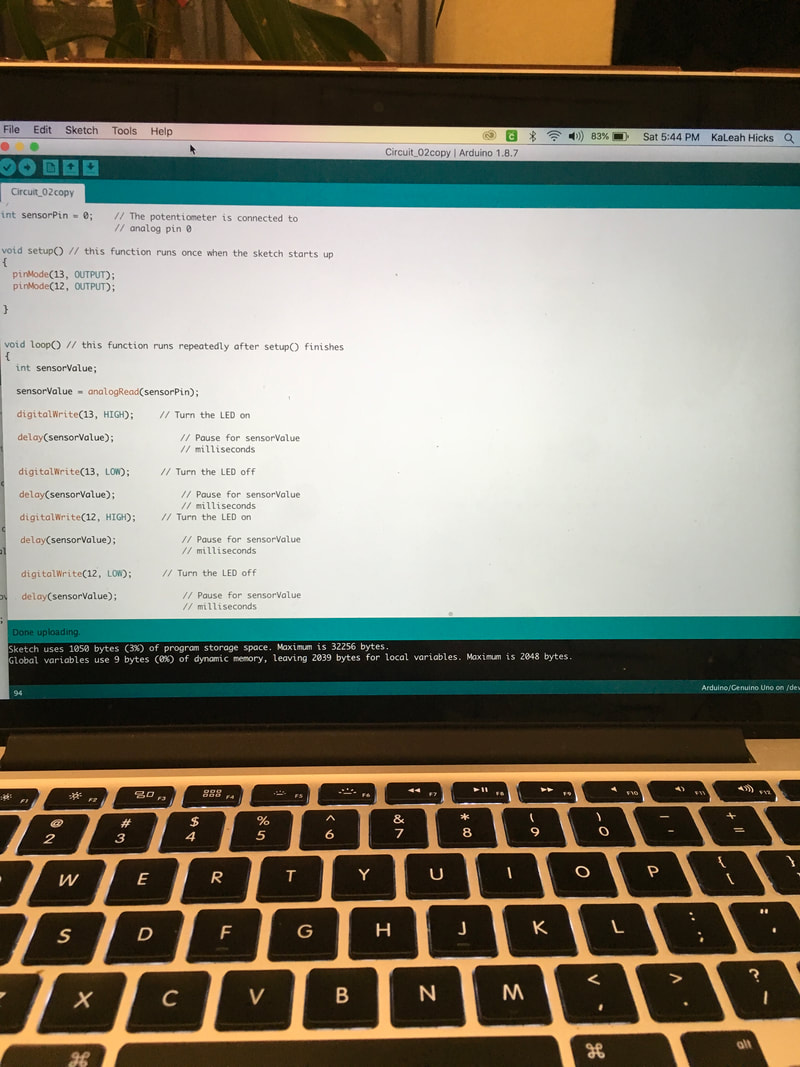
So this week's project is using a potentiometer to affect the rate of blinking for an LED. Basically, it's like using a dial to turn something up and down. I can appreciate that, because at least I understand why I might want to do this. Here is the initial electronic sketch. I think that's what this is. I copied it out of the book, but as I did it, it made more sense.
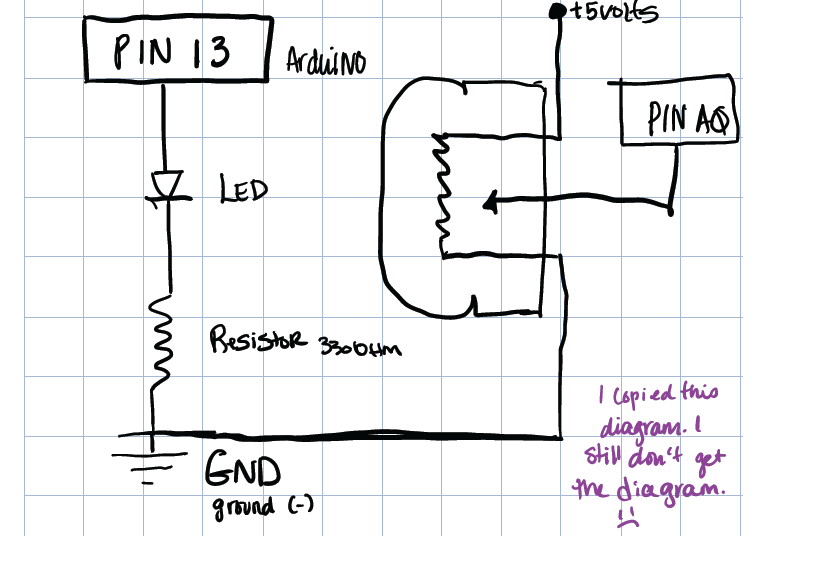
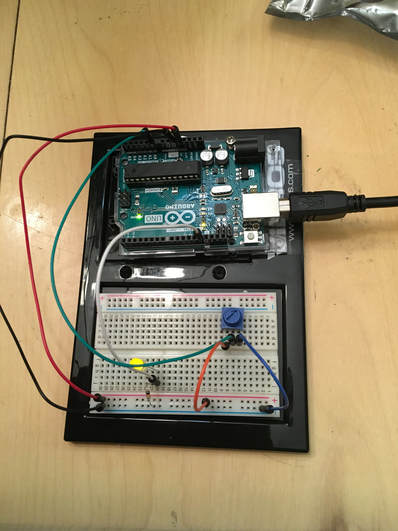
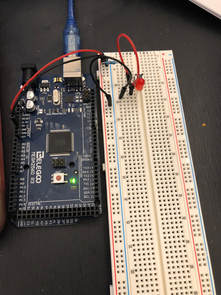
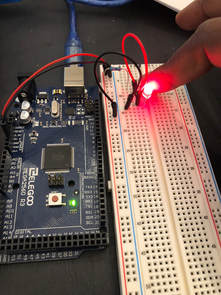
Here is what the sketch and the circuitry looked like initially.
A couple of things about the code: in the directions it said that it set the integer for ledPin to make it easier to follow and that made sense until I added another digital pin and it didn't work anymore. So what I took from that is if you're going to add stuff, it's going to get harder to follow the code. Which is fine, but I was also fine with it looking like the one from last week, which I figured out, it could, once I used some of that to make 2 LEDs work. Aside from that, it was easy enough to follow.
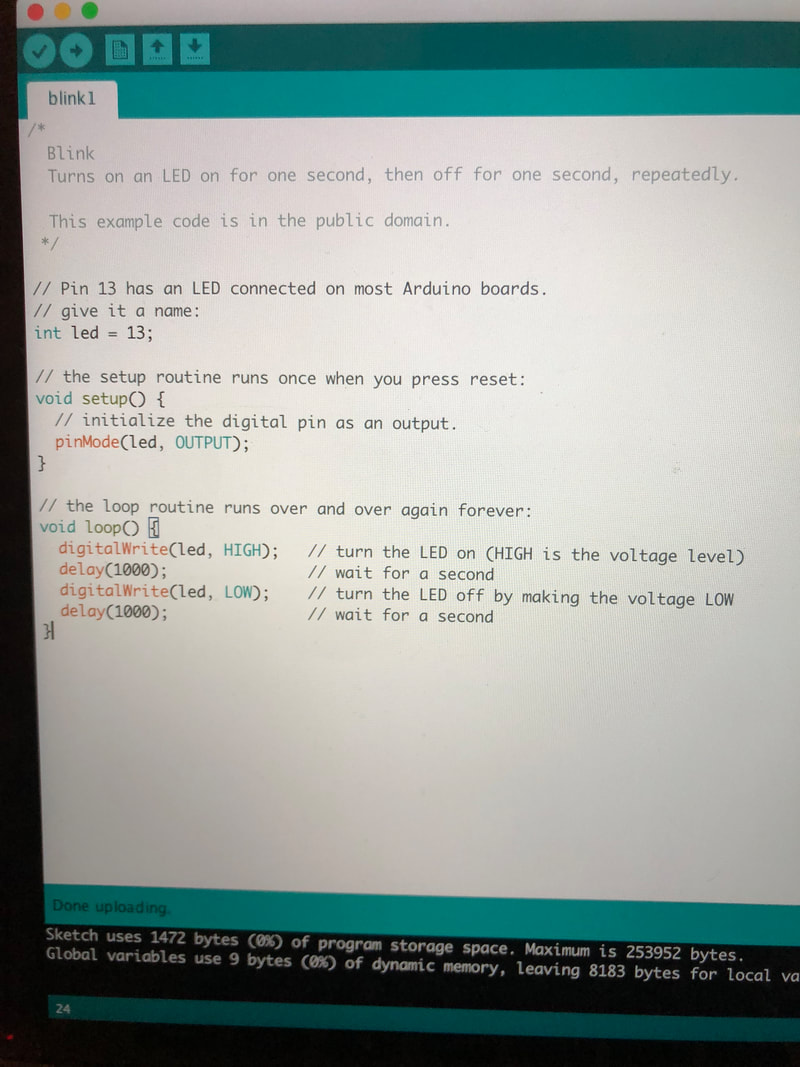
So for the next part, I added an additional digital pin, a red LED. To do that, I had to remove the integer ledPin=13 and change pinMode(ledPin, OUTPUT) to pinMode(13,OUTPUT). I also added pin 12 as an output. I tried to make ledPin=12 as well as 13 but it didn't like that so I went back and looked at the blink sketch that had 2 LEDs and worked off of that.
Then I wanted to make them blink at different rates, so I ended up changing the delay for pin 12 to 50 milliseconds instead of sensorValue. So pin 13 had a delay of the sensor value and pin 12 I played with until I came up with two different rates.
FYI: I used the Apple Clips App to edit the video and then uploaded it to Youtube.
You could make it fancier, but I just wanted some words.
As far as the code and circuit play went, I wasn't able to wrap my mind around 2 analog pins and one digital. The best I could come up with was that it was kind of like having 2 switches for the same lightbulb, one at the top of my stairs and one at the bottom. But that only made sense to me as a switch, so like using the button switch. I couldn't decide if you could do both. I wasn't really sure why you'd want two dials. I did change the digitalWrite to analogWrite and as I suspected, it broke it. So I changed it back.
One thing I learned was to take good notes. Going back and looking at what I did last week helped me figure out how to change the code for this week. I'm not sure exactly what I learned about electricity, but I feel like I know more somehow.   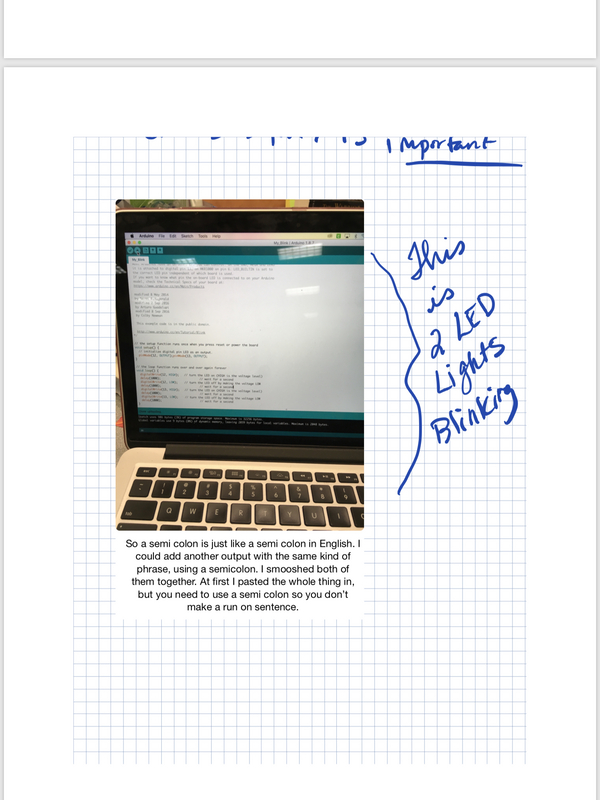
|
AuthorWrite something about yourself. No need to be fancy, just an overview. ArchivesCategories |


 RSS Feed