|
I think that the build I was most proud of this class was the one with the active buzzer. It wasn’t the most difficult one to set up, but it was the one that had the most payoff for me. I think it was because as I was completing it, my security alarm system armed itself and I could see the connection instantly. My alarm was doing the same thing, though I think the alarm is probably the passive buzzer. So building something that I could immediately transfer into my world was good for me. I would say that I started off fairly hopeful, devolved into panic and frustration and then had a little renewal near the end. I would say that I didn’t know anything about circuits or coding really before and since I try to be honest, I can’t say that I know a lot more now. But I did stick with it and so what I may have learned is that when our students encounter something that they find foreign, we are asking them to do the same thing. We are asking them to put aside lack of knowledge and disinterest, in some cases, and stick with it. So it was more learning a feeling. My challenges were very much related to the technical aspect of the projects and in that aspect, they didn’t change over time. I can follow directions, but that doesn’t mean I understand the intricacies of what I’m doing. And because this type of project would have never been a strong area for me as a student, I didn’t worry about it too much. But I also reminded myself that in an authentic maker environment, this wouldn’t be as much of an issue. I just wouldn’t choose that kind of thing to work on. Which doesn’t mean I don’t value it, but rather it makes me really appreciate the importance of having a variety of tools, resources and experiences available for my students to explore. Personally, my next steps as a maker would probably involve more of a craft element, but that won’t surprise anyone. However, professionally, we are looking at creating Maker Kits for circulation at our school, an idea that I got from our exploration of other Maker Spaces in the class. I think it would be a good compromise for our issue of not really having a viable space or time to have a Maker Space that is consistent. While the proposed area in my plan would actually be perfect, we have to utilize that space for classrooms. Even the small classroom space in my library has been commandeered as a class. So while I’d love to have an area, one doesn’t exist. For now, we’ll see how circulating kits might work with students and then revisit the situation at a later date. But for now... 
0 Comments
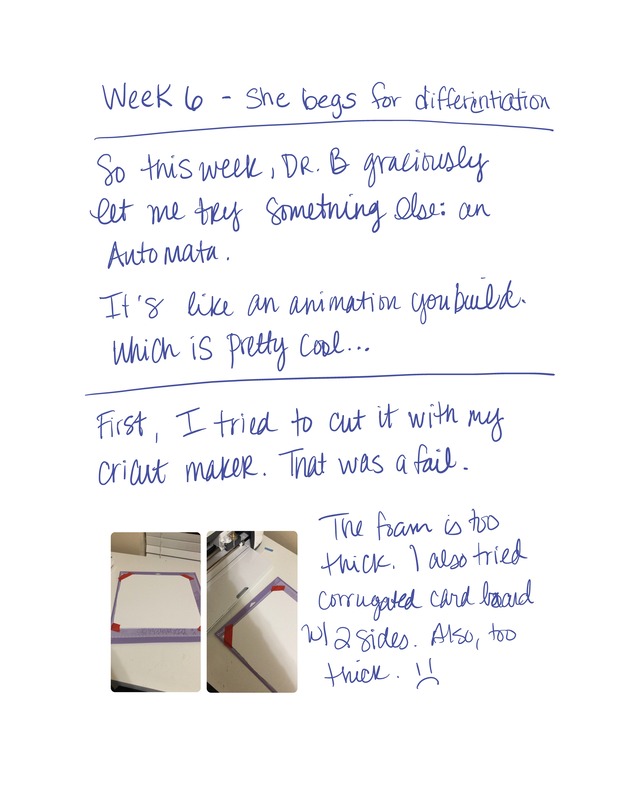
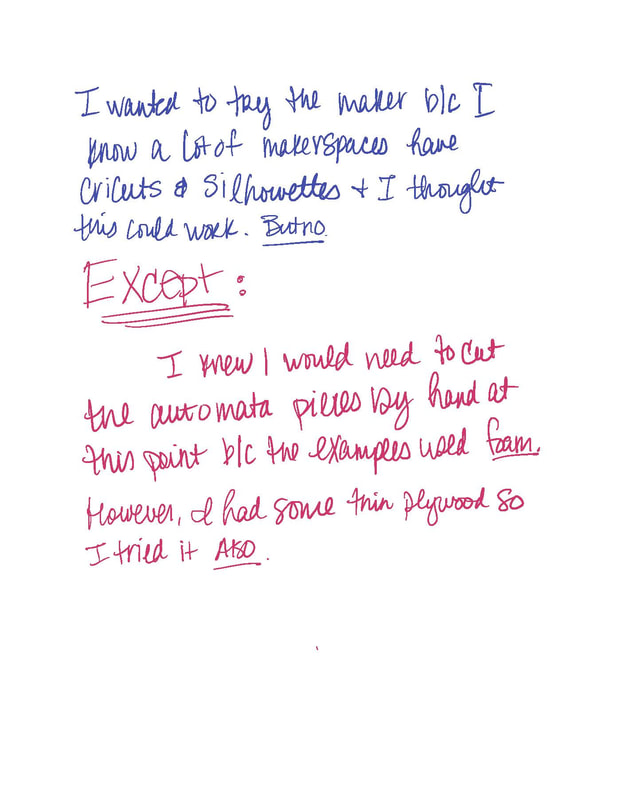
Well...this week, I asked for some differentiated instruction. I was pretty sure I didn't understand how to create a circuit on my own. I wasn't even sure where to start. But, after making my case to Dr. B, he gave me something else to look at: Automata.
So this is like an animation that you build. That's the best explanation I have for it. This is the site with the instructions: github.com/holasciarts/automata This is their example of the reciprocating cam: 
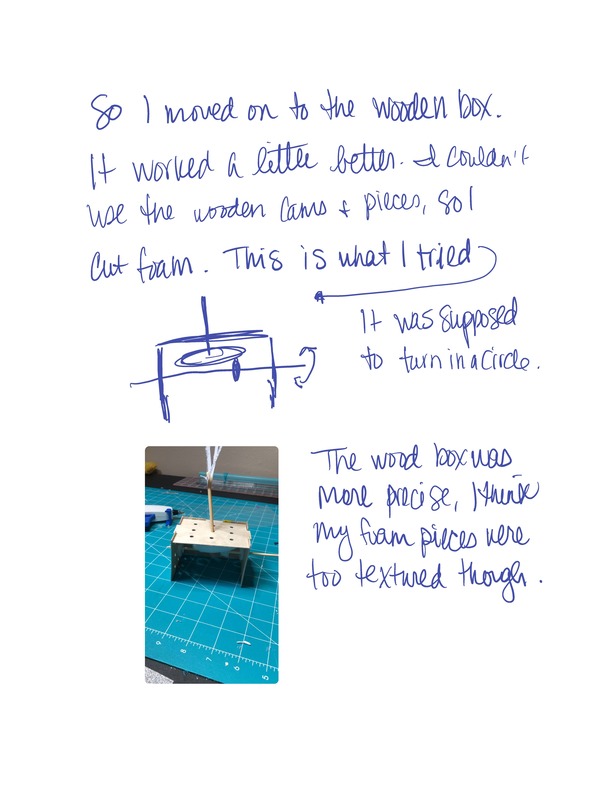
And here's what I came up with:
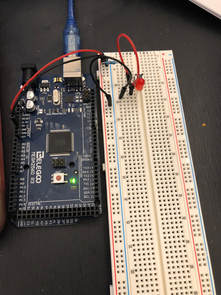
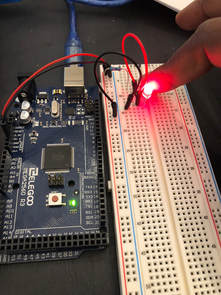
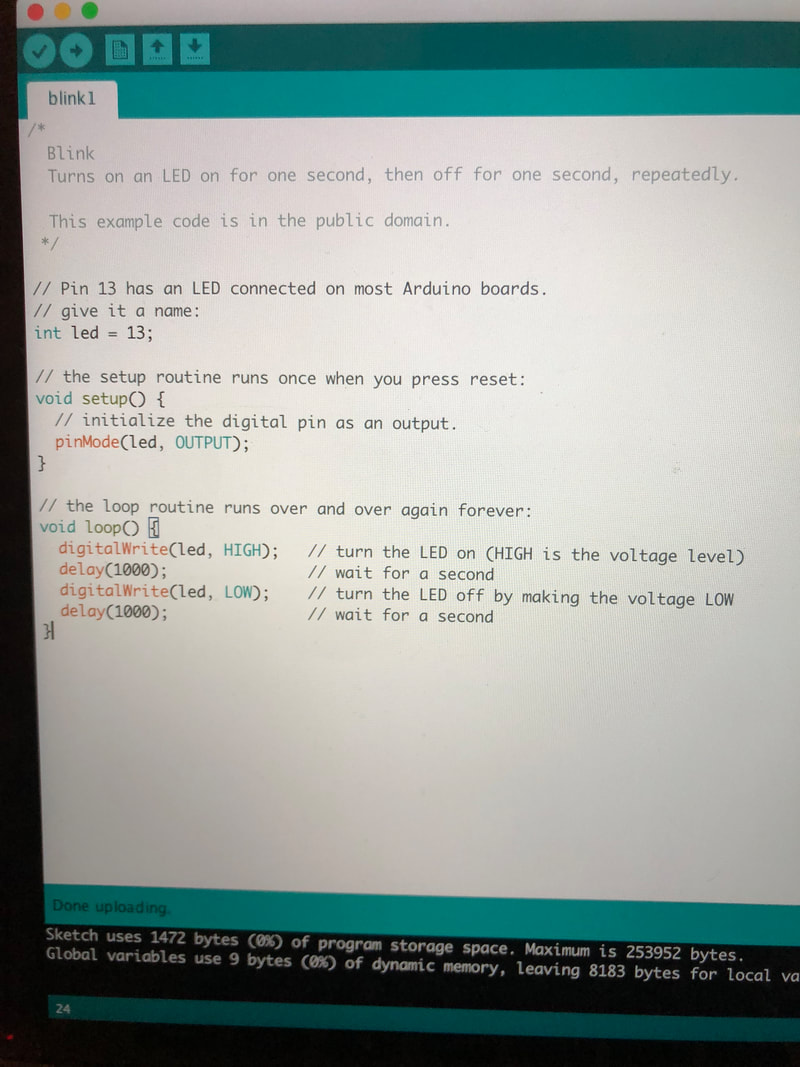
For this week, I chose to play with the active buzzer in my kit. I was looking for a project I had a little interest in and the active buzzer stood out to me because I have an alarm system that sets itself every night. Essentially, at 10 PM, my alarm arms itself and makes a variety of beeps at me. Simultaneously, my door lock beeps at me. So I'm thinking that the buzzer is kind of a variation on that.
There were two types of buzzers in the kit - active and passive - I went with the active one, but I may check out the passive one too because apparently it can make different tones which is really what my alarms do. But the active one was easy to set up. I had to use another set of wire, Male to Female ones, which I didn't think I had, but realized they were all stuck together. I thought that was some huge super wire. I peeled two off and went for it. I used the provided code, but I was looking for what kind of variable would change and I found that in the speed of the beeps. When I changed that value, the beeps went faster or became more steady as you can see on the video. I didn't take many physical notes this time.
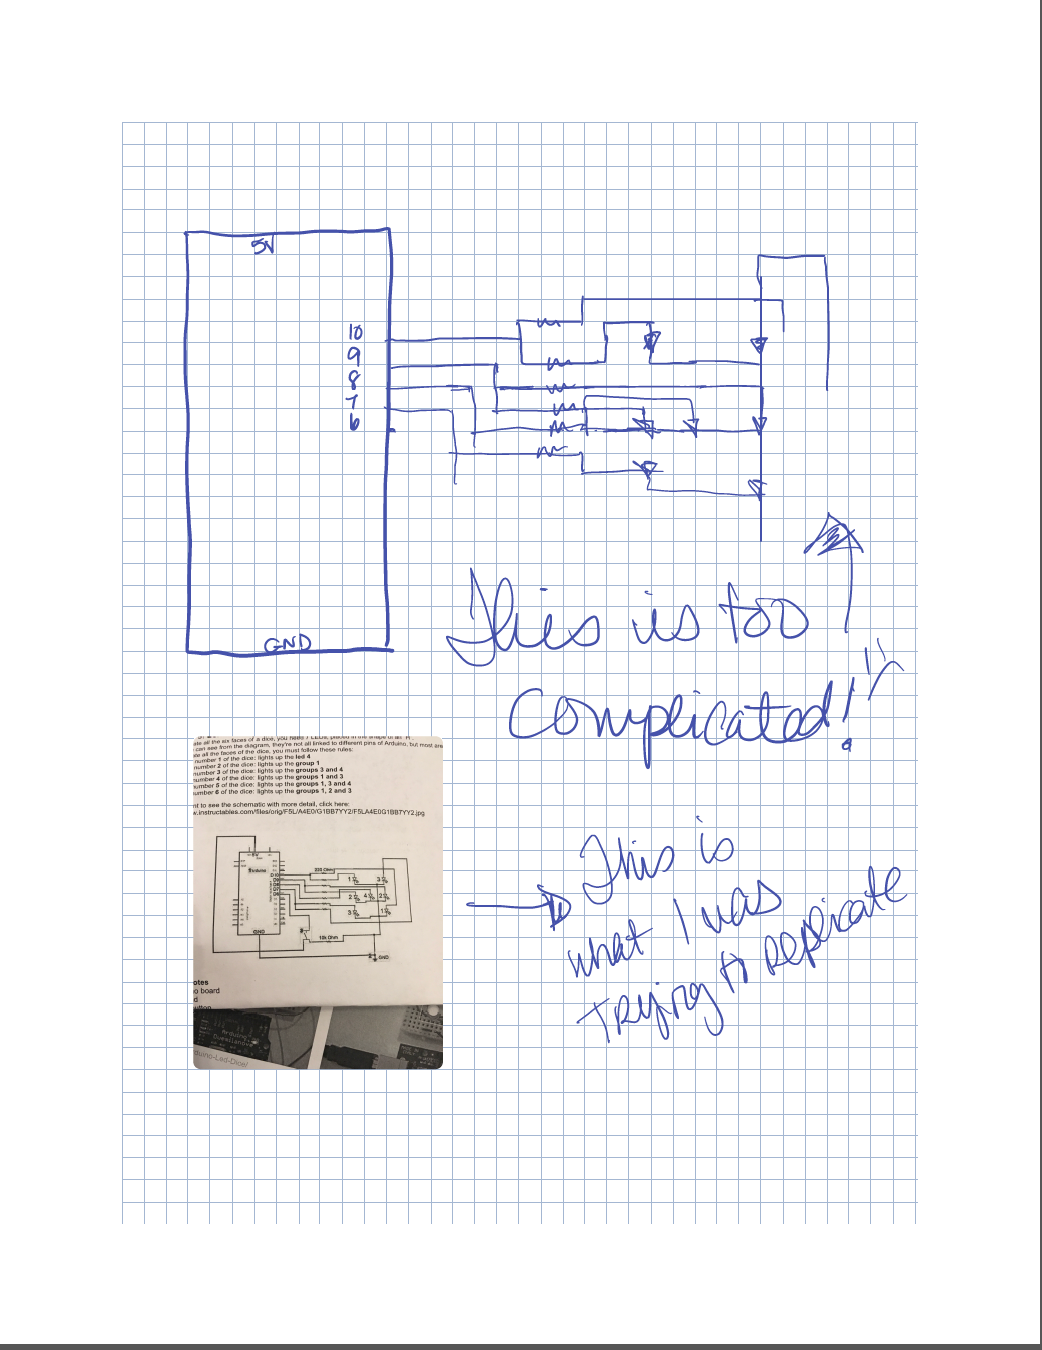
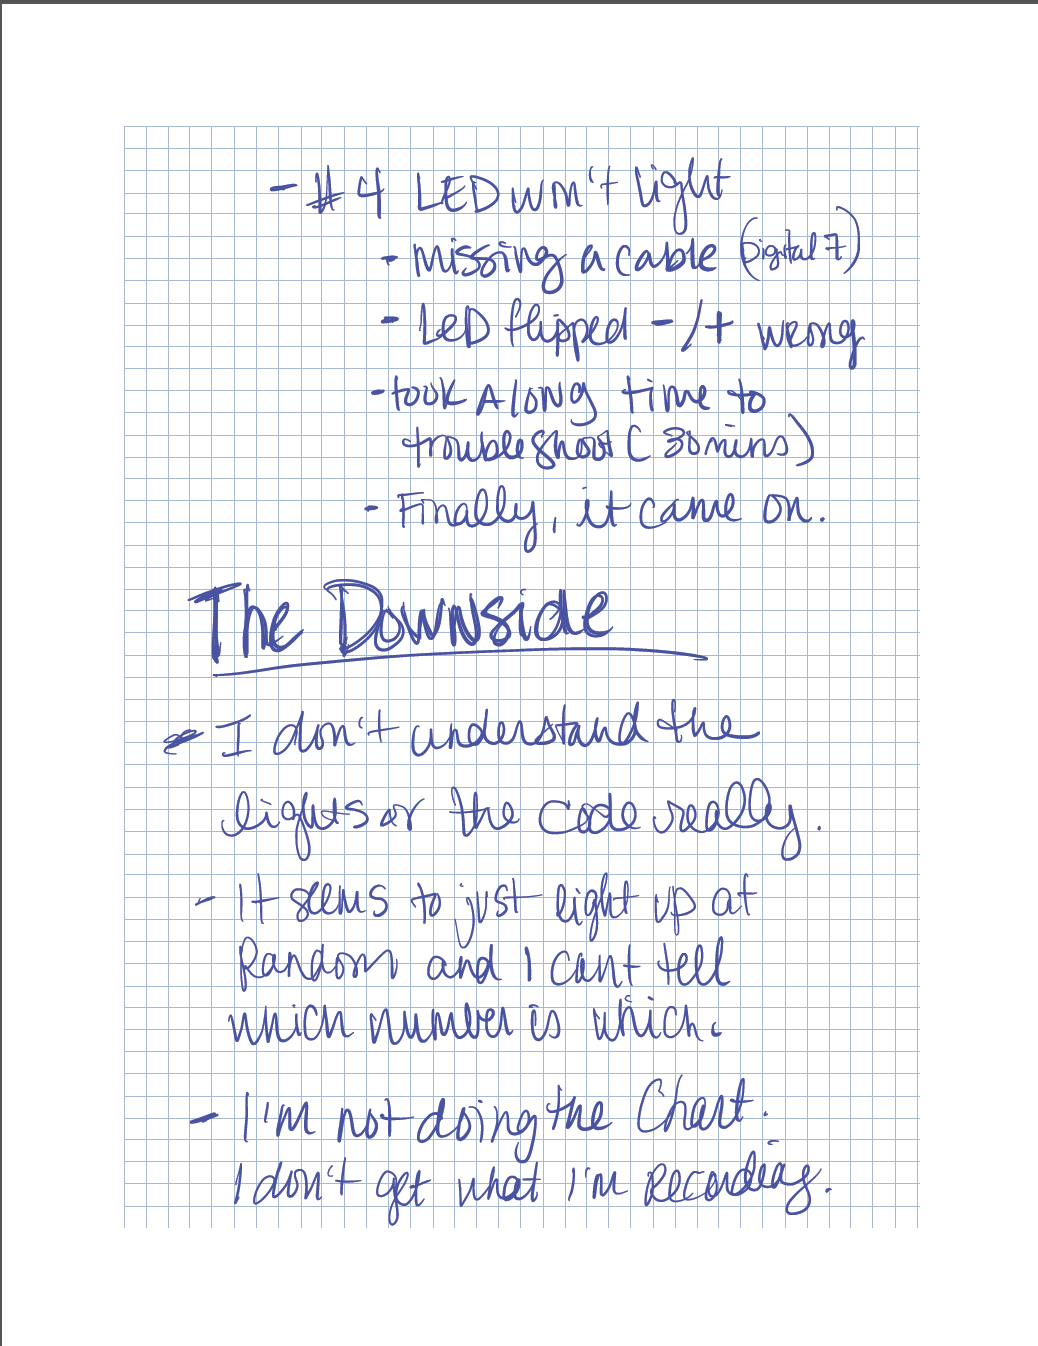
This week we were supposed to make a die. There really wasn't much in the way of instructions though. I'm not going to drag this entry out; I'll just say that I kinda made a die, but the internet helped me immensely. I'm still not sure what it's doing though.
Bonus: Timelapse of me drawing my makerspace
This week actually wasn't so bad, though you're going to disbelieve this statement when you watch my video. However, I chose, in the interest of authenticity to leave it all there.
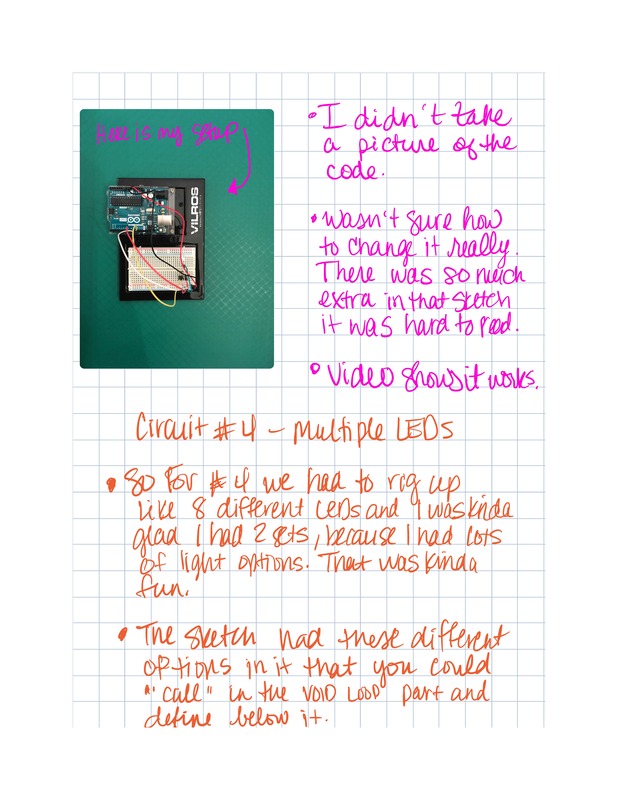
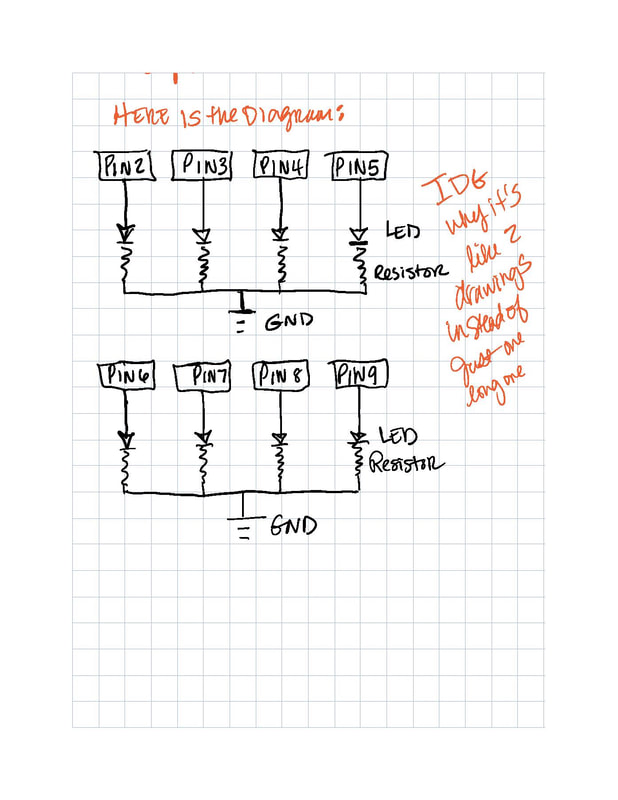
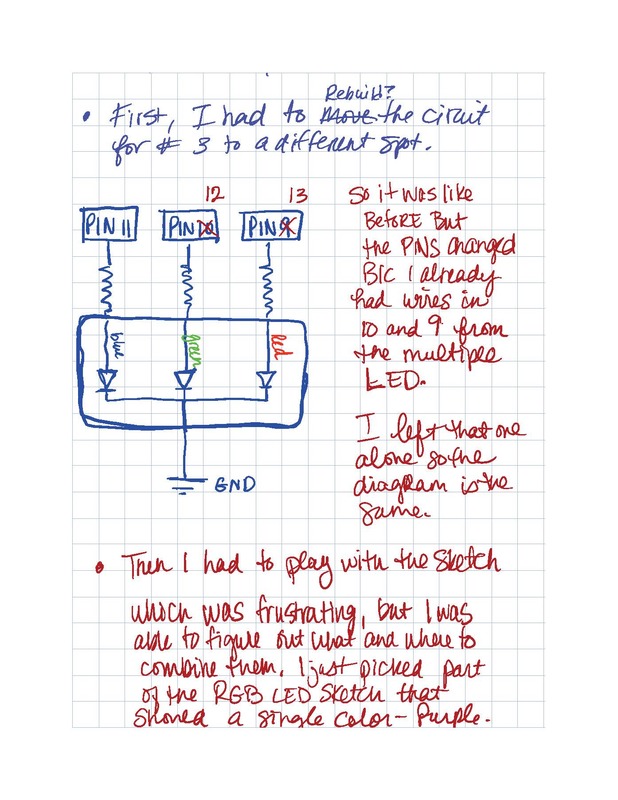
This week, we built Circuits #3 and #4, which in my case had to do with an RGB LED bulb for #3 and multiple LED bulbs for #4. I don't have much problem following the diagrams to set up the circuit. That's actually kind of fun, like a map. Looking at the sketch is more challenging and where I ran into difficulty this week. I had a hard time figuring out how to use the part where you call the function, but eventually, I figured that out. My pictures are in my notes this week, because I took more notes and it would kind of go better in context.
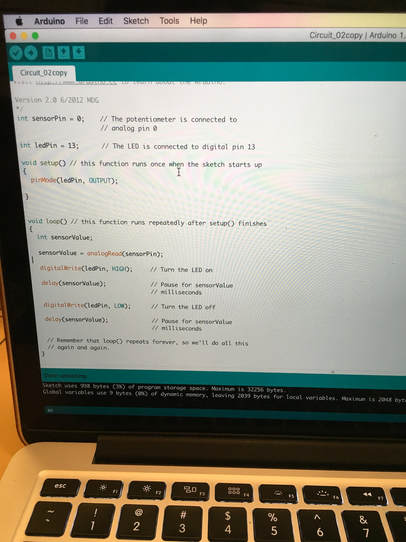
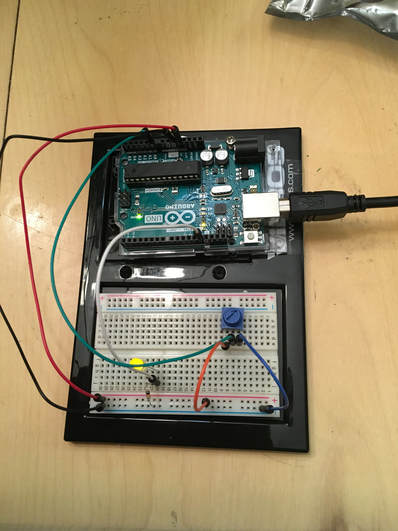
So this week's project is using a potentiometer to affect the rate of blinking for an LED. Basically, it's like using a dial to turn something up and down. I can appreciate that, because at least I understand why I might want to do this. Here is the initial electronic sketch. I think that's what this is. I copied it out of the book, but as I did it, it made more sense.
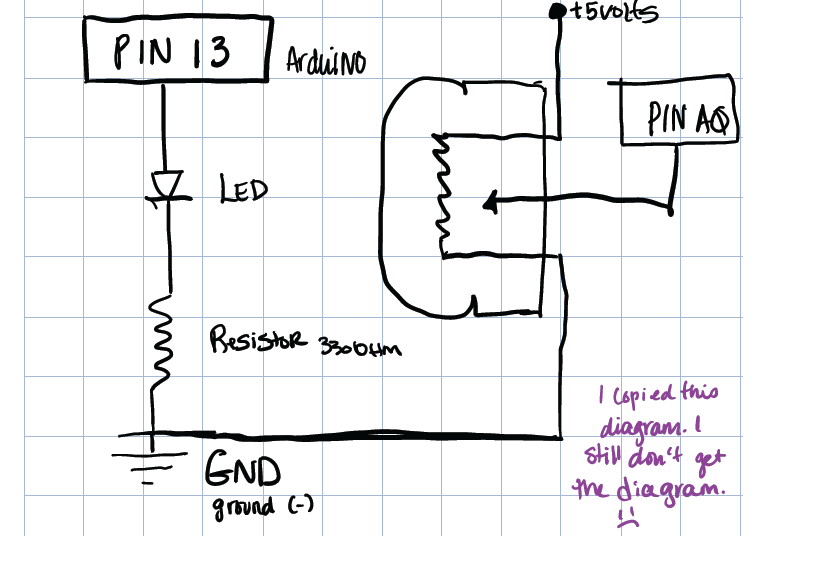
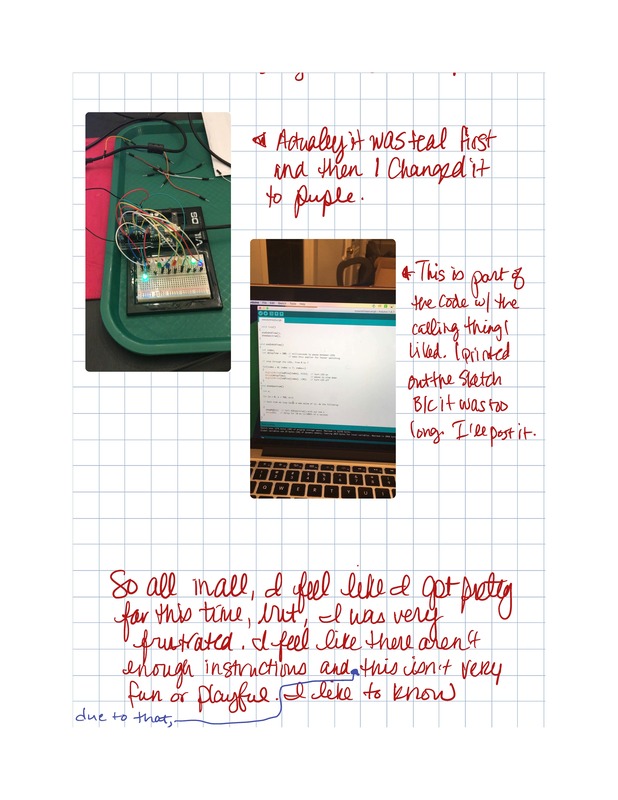
Here is what the sketch and the circuitry looked like initially.
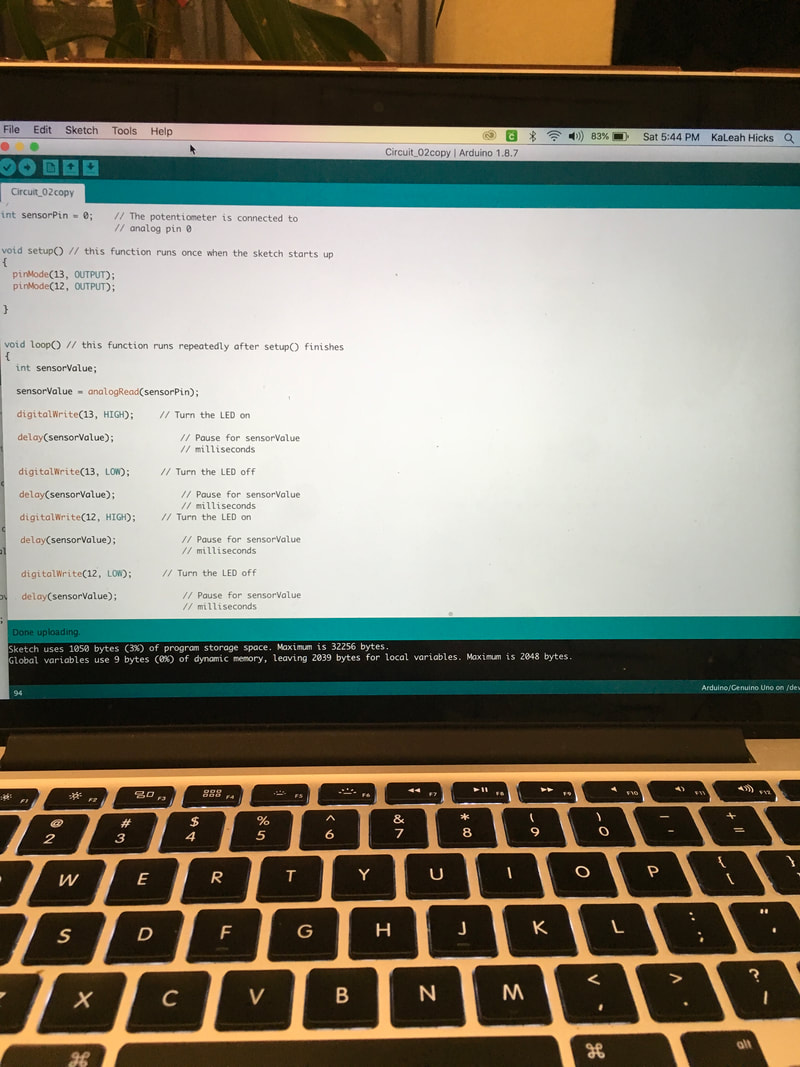
A couple of things about the code: in the directions it said that it set the integer for ledPin to make it easier to follow and that made sense until I added another digital pin and it didn't work anymore. So what I took from that is if you're going to add stuff, it's going to get harder to follow the code. Which is fine, but I was also fine with it looking like the one from last week, which I figured out, it could, once I used some of that to make 2 LEDs work. Aside from that, it was easy enough to follow.
So for the next part, I added an additional digital pin, a red LED. To do that, I had to remove the integer ledPin=13 and change pinMode(ledPin, OUTPUT) to pinMode(13,OUTPUT). I also added pin 12 as an output. I tried to make ledPin=12 as well as 13 but it didn't like that so I went back and looked at the blink sketch that had 2 LEDs and worked off of that.
Then I wanted to make them blink at different rates, so I ended up changing the delay for pin 12 to 50 milliseconds instead of sensorValue. So pin 13 had a delay of the sensor value and pin 12 I played with until I came up with two different rates.
FYI: I used the Apple Clips App to edit the video and then uploaded it to Youtube.
You could make it fancier, but I just wanted some words.
As far as the code and circuit play went, I wasn't able to wrap my mind around 2 analog pins and one digital. The best I could come up with was that it was kind of like having 2 switches for the same lightbulb, one at the top of my stairs and one at the bottom. But that only made sense to me as a switch, so like using the button switch. I couldn't decide if you could do both. I wasn't really sure why you'd want two dials. I did change the digitalWrite to analogWrite and as I suspected, it broke it. So I changed it back.
One thing I learned was to take good notes. Going back and looking at what I did last week helped me figure out how to change the code for this week. I'm not sure exactly what I learned about electricity, but I feel like I know more somehow.   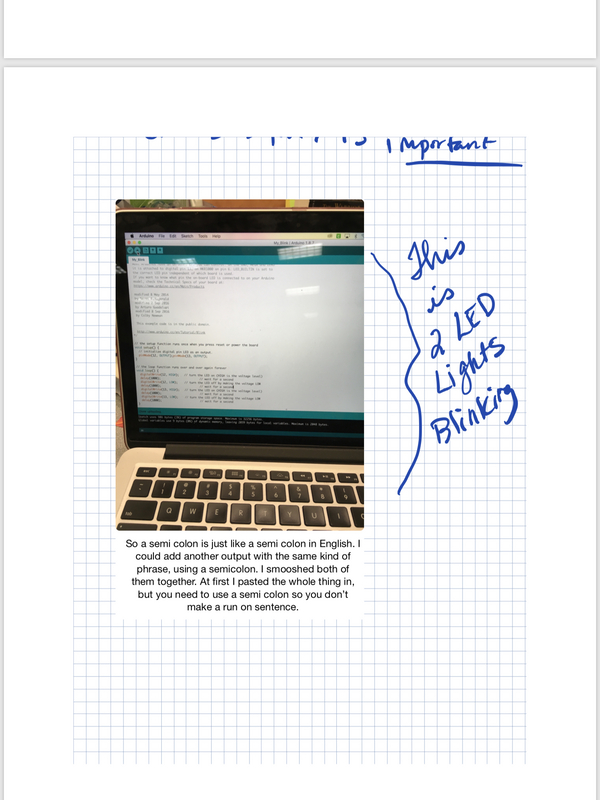
|
AuthorWrite something about yourself. No need to be fancy, just an overview. ArchivesCategories |


 RSS Feed